
I love the appliances that get my items clean. Washing machine: clean clothes. Garbage disposal: clean sink. Dishwasher: clean plates.
What I didn’t think about, though, was that the appliances used to clean my things were probably dirty as well. And that does not equal clean items. But how do you clean an iron? What about my espresso machine? Now that it’s springtime, I’ve decided to do a little spring cleaning. Here’s what I’ve learned, starting with: always have vinegar on hand.

How to Clean a Dishwasher
In my research, I found that you should be cleaning your dishwasher monthly. Um…oops? It makes sense – you’re constantly filling it with dirty dishes and relying on it to wash and dry them – but it’s not something you think to clean on a Saturday. But now I know! Now, to clean it.
The first step is removing any gross food bits and other remnants. You want your dishwasher to be as clean as possible prior to running an empty load, rather than letting grimy specks travel around. (That kind of defeats the purpose of cleaning your dishwasher, ya know?)
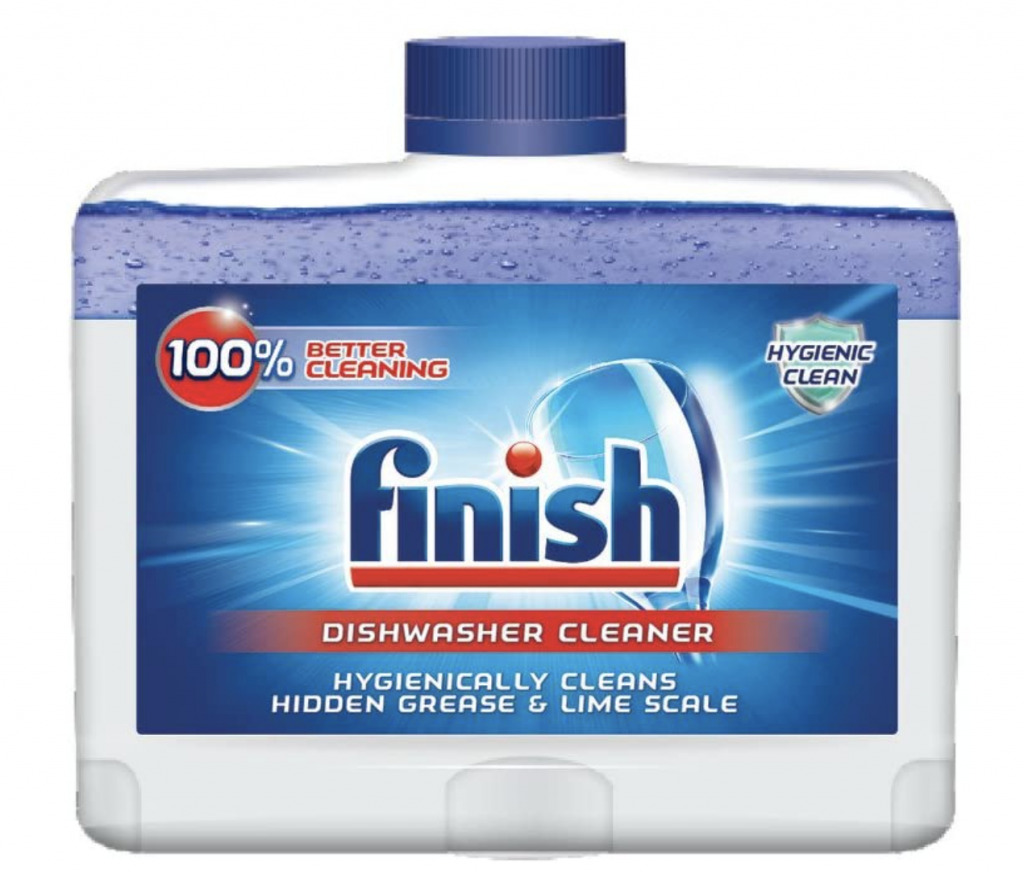
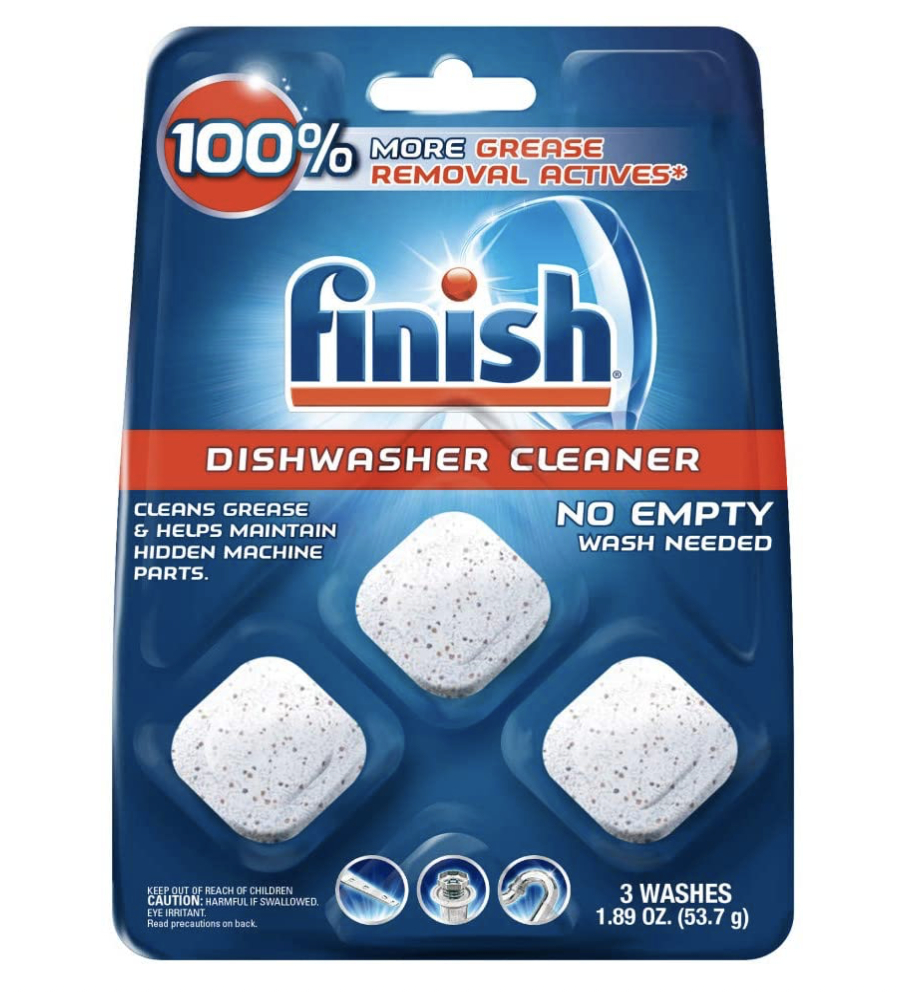
There are a few ways you can go about this. First, you can set a bowl of white vinegar on the top rack and run the dishwasher at a high temperature. There are also dishwasher tablets you can use instead, like these:
Next, you’ll want to clean any removable parts, like the silverware holder, and gently wipe them down with soapy water. Take a sponge and clean off the racks themselves, too. After that, the spray arm should be cleared of clogs.
One of the most important parts to clean is the dishwasher filter, which keeps food that has been washed off from reappearing on your clean mugs. In order to reach your dishwasher filter, pull the bottom rack all the way out. If the filter is removable, rinse it under hot water, then take a toothbrush to clean beneath where the filter sits.
Finally, fight mineral buildup with lemon juice in a bowl on the top rack of your washer. This will help to remove hard water spots.
I used some dishwasher cleaner thing and now my dishwasher is so shiny and clean and smells so nice that I don’t want to put dirty dishes from dinner in it 😅
— :: Missy Chrissy :: (@Tini_zwitschert) May 1, 2021
Open up and air out your dishwasher after cleaning, so no residue or mildew builds up, completely defeating the purpose of your deep clean.
How to Clean a Washing Machine
I’m gonna be honest: your washing machine is gross. Think of all the hair, the dirt, the stains that it washes away… yeah, I’ll stop there. That’s why you should be cleaning it monthly.
On the first day of the month I now clean my garbage disposal, my washing machine, and my dishwasher. I’ve gone from 30 to 65 real fast gotta say
— Sarah (@babztaylor) May 2, 2021
Cleaning your washing machine is easy. But for front loaders, there’s an extra step that must be done. Start by taking a hot washcloth and wiping the inside of the door, including the rubber seal. For tight, hard-to-reach-nooks, grab a toothbrush and get in there. If you find mold, dip a rag into peroxide and wipe it down thoroughly.
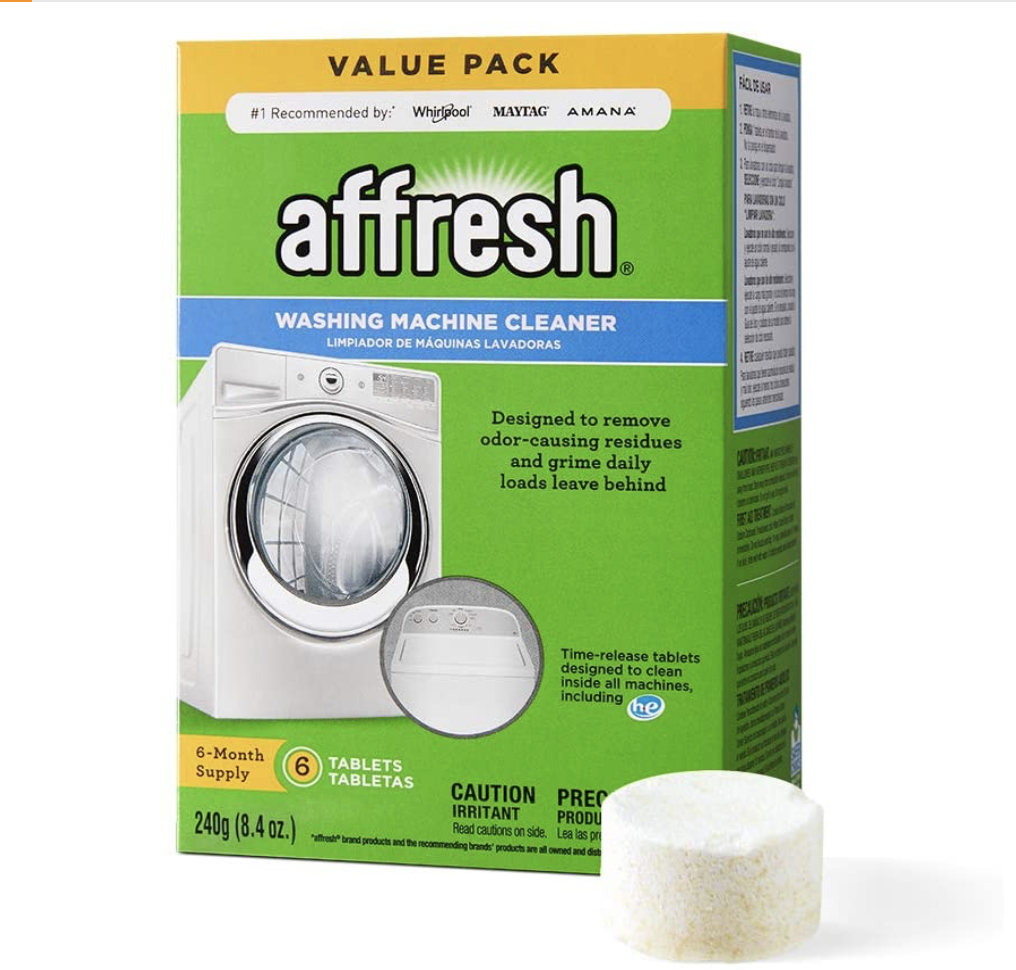
For both top- and front-loading washing machines, fill up the empty machine (or, for front-loaders, the dispenser) with about a cup of vinegar. This will help to disinfect the machine. Run a full cycle with the hottest water setting. If you’re struggling with excess odor, run 1/3 cup of baking soda inside the machine following the vinegar cycle. (Mixing baking soda and vinegar isn’t harmful, but the disinfection from the vinegar won’t be as effective. Same goes for the baking soda removing odor.)
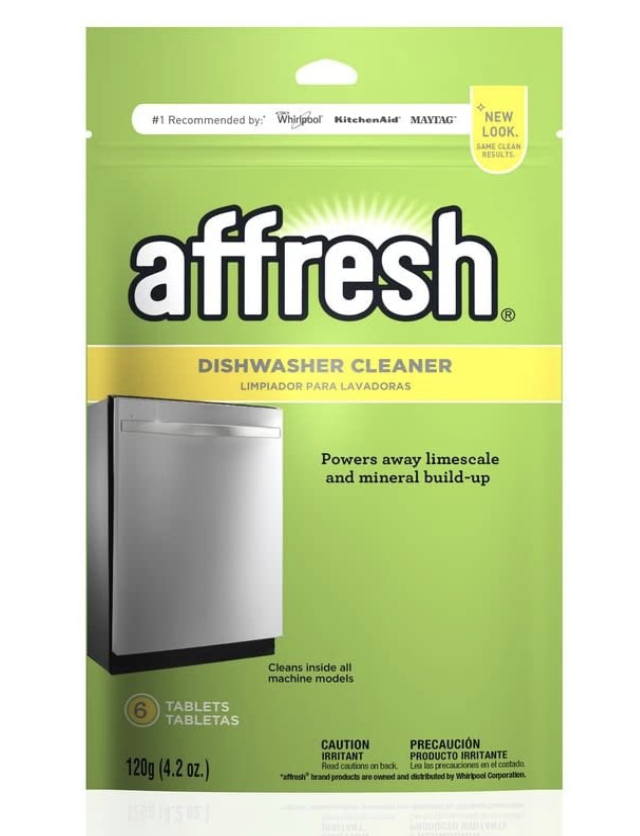
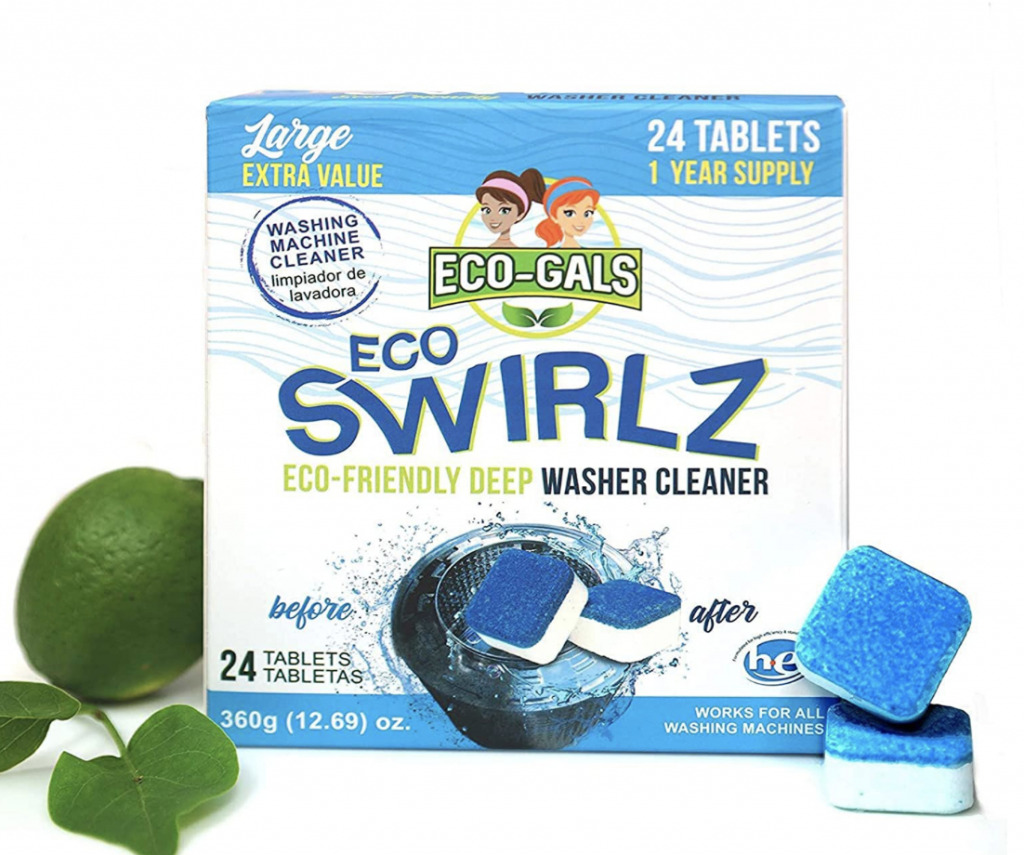
You can also use these highly recommended cleaners:

How to Clean a Garbage Disposal
We’ve all been there: something smells… weird, in our kitchen. Is it the trash? Nope. Bad food in the fridge? No. And then, you find the source: the garbage disposal. Yep, you need to clean that bad boy out.
While many places recommend just cleaning the inside, it’s important to clean the rubber splash guard as well. With tiny areas rotting food can hide in, it can get preeeetty gross and smelly. Unplug the garbage disposal and pull out the guard, then take a toothbrush and scrub out buildup to the best of your ability.
For the inside, with the garbage disposal still unplugged, take half a cup of baking soda and let it sit in the disposal for half an hour. This will help activate the deodorizing properties. After half an hour, add a cup of vinegar. This will cause a foaming reaction, meaning that grime will be loosened. After that, rinse with hot water.
Cleaning the blades is also super important. After you’ve put the splash guard back in, plug in the garbage disposal and add a dozen ice cubes and a cup of salt. Start it up with water running until the grinding stops. Clean garbage disposal? Check!
How to Clean a Coffee Maker
There are a bunch of different coffee makers, so we’ll cover the basics for drip, Keurig, and Nespresso machines.
It’s a great day to descale and clean that coffee maker
— Captn (@CaptnMexico) May 2, 2021
Before we get into the deep cleaning, one thing is certain: give each part a little TLC after each use. Meaning, clean drip trays, remove brew baskets, and don’t let disposable paper filters or grounds sit there until the next day.
For a drip coffee machine, take equal parts vinegar and water and fill the reservoir. Brew the two ingredients, then stop halfway through and let the solution sit for 30 minutes. Finish the brew cycle, dump out the mixture, and fill with clean water, using a new paper filter. Finally, run a brew cycle again with clean water. If the coffee machine is still icky, stained, or doesn’t rinse clean and clear, grab some denture tablets and let them sit in water for a few hours. Voila: spotless.
For Keurig machines, there are rinse pods to rinse out the residue. But if you’re needing a deep clean, you’ll have to get your hands dirty. Disassemble the appliance to the best of your ability. Turn up your water to hot, then wash each part, from lid to K-Cup holder, with soapy water. Dry it gently, then let the rest air dry. If you see any mineral residue, grab a toothbrush and dip it in white vinegar, then put in a little elbow grease.
And finally, for Nespresso machines: the website for Nespresso actually sells a descaling kit in order to rid lime scale buildup. You can find the kit here – it’s super affordable, so don’t try DIY-ing it and ruining your morning savior.
Never clean your Nespresso machine with vinegar. Always use the descaling solution.
— Mary (@Ms_Mary11) June 19, 2019
How to Clean an Oven
When was the last time you wiped off burnt crumbs and dripped cheese off the bottom of your oven? Let’s be honest: we only do it when it starts to smoke, not as a preventative measure.
A dirty oven could be a severe fire hazard, as any food inside continues to burn with every use. This causes a grey smoke to emit from the oven when the door is opened, which can be extremely harmful to your lungs#FirePrevention #FireHazards pic.twitter.com/NSAe8ARKoV
— Tempest Restoration (@tempestrestor) April 27, 2021
But today is a new day, aka time to get to it! Note: you will not be using the self-clean feature for this deep dive.
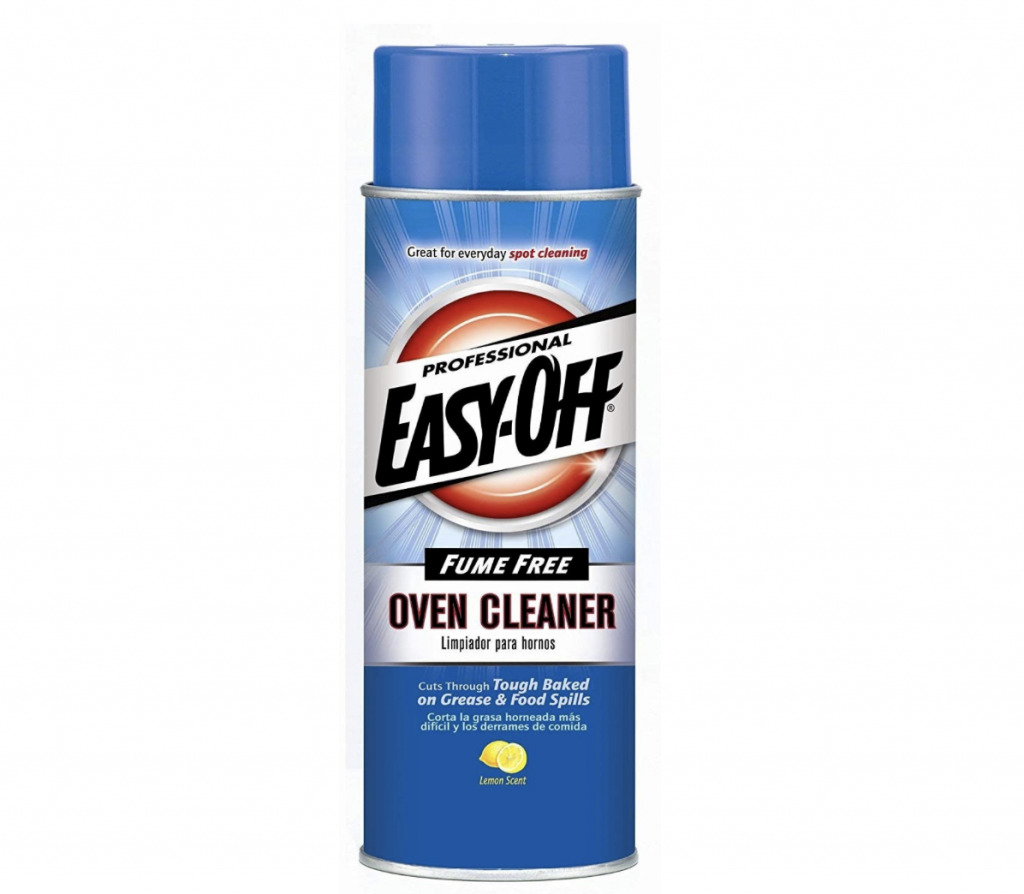
To start, remove every part. This includes racks and thermometers – anything in there needs to be out. Spray the entire inside with an oven cleaner, working it into hidden slots, then let it sit for half an hour. Next: spray again and wait another half hour. Do this three to four times, then wipe off the grime. Major warning: Do NOT clean electric stoves’ heating elements OR where the gas comes through in gas stoves.
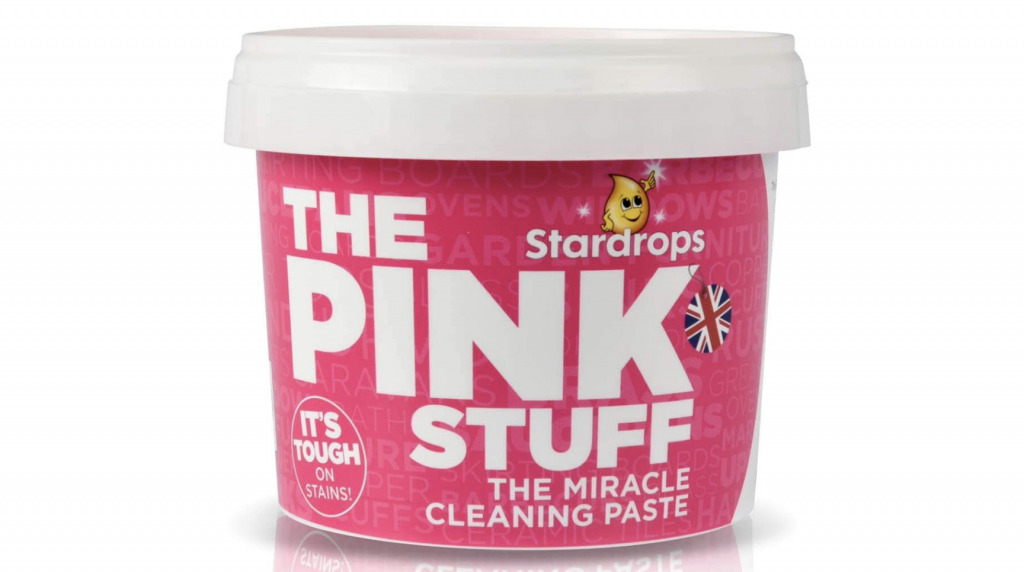
For oven cleaners, we recommend these:
If you’re hesitant to use an oven cleaner, you can also mix together half a cup of baking soda and 2-3 tablespoons of water. Spread the paste around the oven, avoiding the heating elements and gas area, and let sit overnight.
While the oven solution/cleaner is sitting, place the racks in an area where you can coat them in oven cleaner or the baking soda solution. Let them sit for an hour, then let them soak in a large sink or bathtub filled with hot, soapy water. You don’t want to have to scrub the racks too hard.
Finally, take a wet wash cloth and wipe down the interior. For paste that doesn’t come off, spray with vinegar for a foaming chemical reaction. Wipe down the racks, dry them off, and place them inside. Tada!
How to Clean an Iron
I know I should be washing my oven and garbage disposal, but I wasn’t totally aware of the fact that you need to clean your iron inside and out.
For the inside, you’re going to need white vinegar and distilled water. Mixing 1/4 cup of the white vinegar and 3/4 cups of the water, fill your iron and turn on the steam function. Allow the iron to heat up for three-to-five minutes, then let it steam. Do this at least four times to fully clear out the inside. Let the iron cool, then dump the mixture.
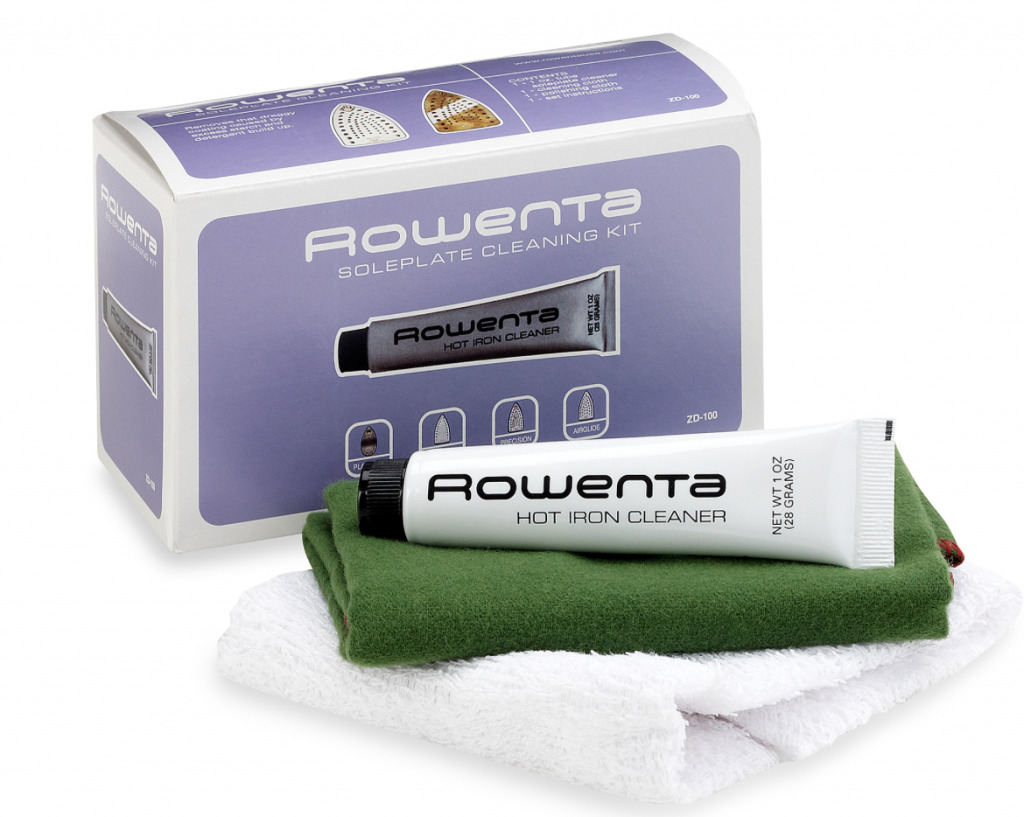
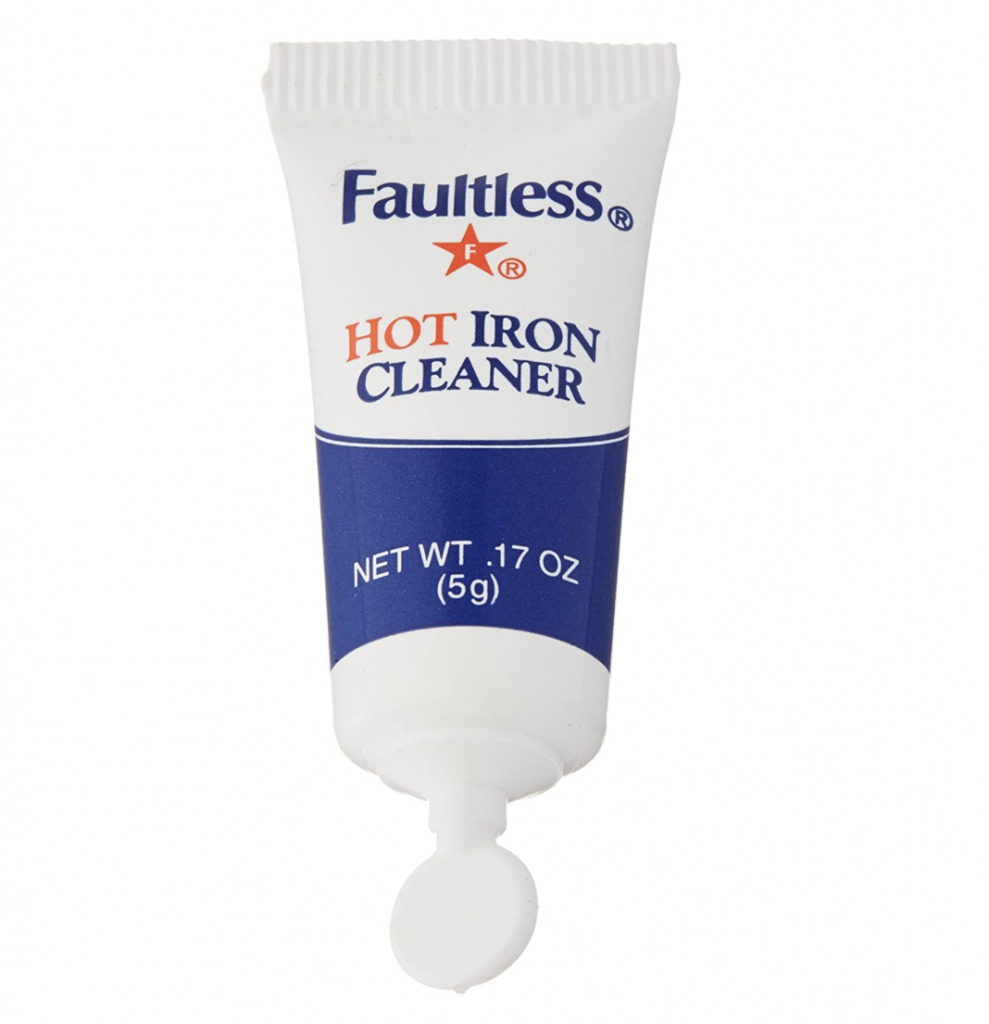
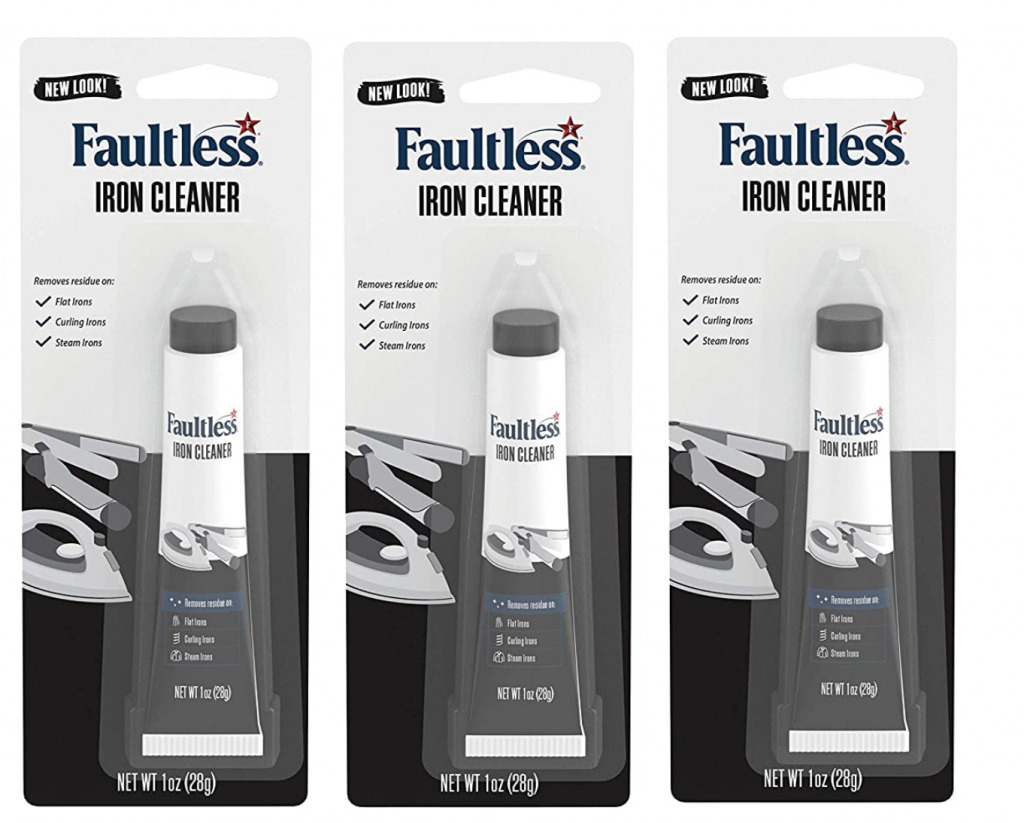
You can use the above solution to clean the soleplate. Just don’t scrub too harshly, because scratched soleplates can lead to early rusting. There are also products specifically for cleaning soleplates. These have the best reviews:
And if there are any clogged steam vents, use a q-tip to clear them out. The key is to be gentle.

And there you have it! Don’t you feel more knowledgeable? I know I do. Do you have any tricks for cleaning appliances? Have more questions? Ask away in the comments!
Looking For More Home Good Products? Read These Articles:
Brew Better Coffee At Home With These 4 Coffee Accessories
My Pantry Is More Organized Than Marie Kondo’s Thanks To These Products
